
Grout, a complementary element of floor and wall coverings, is of great importance both aesthetically and functionally. By filling the gaps between covering materials such as tiles, ceramics, or pavers, it increases the surface’s durability and prevents water seepage. So, what is grouting, and how is it done? In this article, we’ll cover all the details you need to know to achieve a flawless grouting job, including the right material selection and application steps. From home decor to professional projects, you can easily learn this process—which you’ll encounter in every setting—with expert tips.
What Is Grout?
Grout is a material used to fill the gaps between tiles, ceramics, or similar covering materials. This material not only enhances the aesthetic appearance but also increases the surface’s durability and water resistance. Just as the proper installation of tiles is important, so too is the correct filling of the gaps between them to ensure the surface remains long-lasting and in good condition.
Grout, which is typically made from cement-based or epoxy-based formulations, also enhances aesthetic designs with its variety of color options. Additionally, when the grout is waterproof, it provides extra protection, especially in areas with frequent water exposure, such as kitchens and bathrooms. Grout application not only protects the joints between tiles but also creates a hygienic environment by preventing dirt, dust, and water from seeping into these gaps.
Choosing the right grout and applying it correctly ensures that flooring and wall surfaces achieve excellent results, both visually and structurally. For this reason, grouting is an essential part of flooring and wall installation.
How Is Grouting Done?
Grouting is a critical step in finishing tile, ceramic, or stone installations and achieving a durable, aesthetically pleasing look by filling the gaps between them. You can achieve a successful result by selecting the right materials and following the proper preparation and application steps. Here is the step-by-step answer to the question of how to grout:
Surface Preparation
Make sure the surface you’re grouting is clean and dry. If there is dust, dirt, or adhesive residue in the gaps between the tiles, remove it. You can use a brush or vacuum if necessary. A damp or wet surface can prevent the grout from adhering properly, so a completely dry surface is preferred.
Preparing the Grout
Mix the joint filler according to the manufacturer’s instructions. Be sure to use water in the specified proportions when preparing the mixture. Mix the material until it reaches a smooth and fluid consistency. To prevent clumping in cement-based materials, it is recommended to use a low-speed mixer. After preparing the mixture, let it rest for a few minutes, then mix it again before applying.
Grout Application
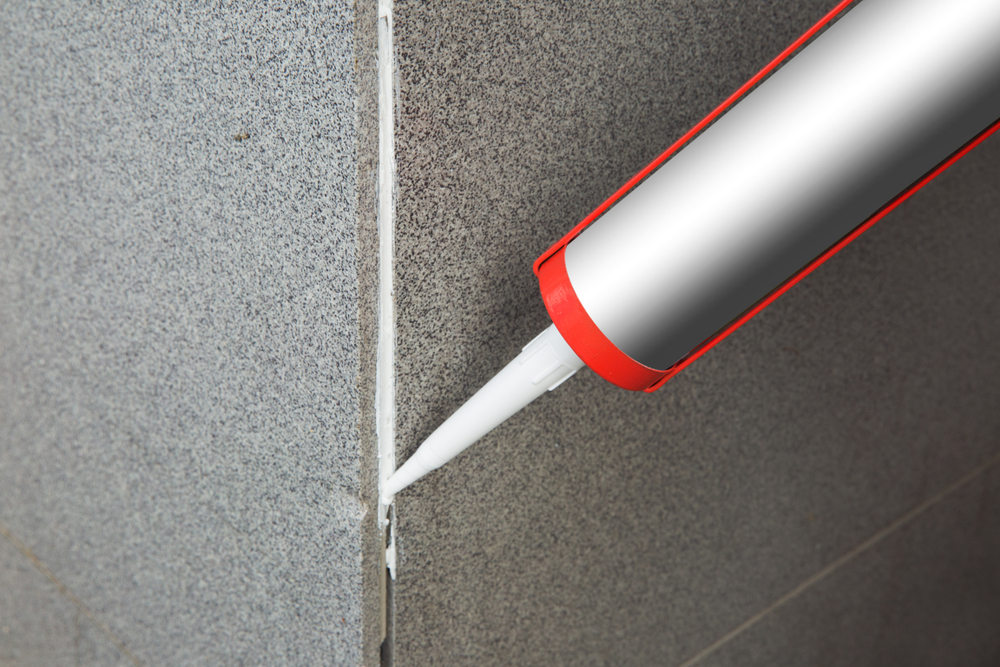
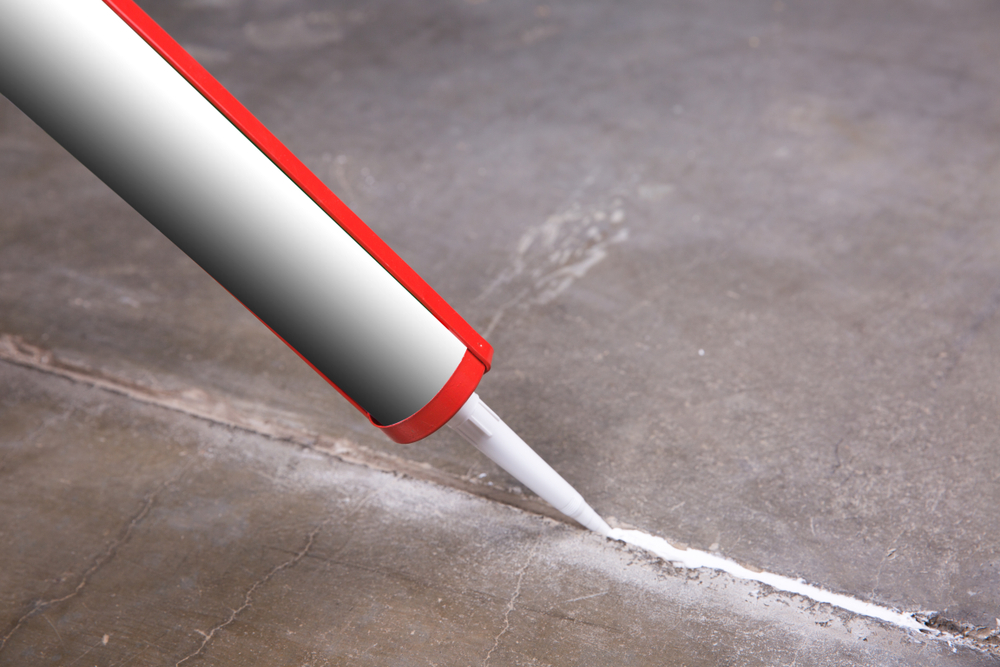
Using a rubber trowel or grout applicator, apply the grout to the gaps between the tiles. Fill the gaps thoroughly by pressing the grout firmly into them with diagonal strokes. This step ensures that the gaps are completely filled and a sturdy structure is formed. To remove excess grout from the surface, run the applicator over the tiles at a slight angle.
Cleaning and Shaping
When the grout begins to set slightly (usually after 10–15 minutes), use a damp sponge to wipe away any excess grout from the tile surface. Rinse the sponge frequently with clean water to ensure it doesn’t leave any marks on the surface. At this stage, you can also shape the grout lines to even out the surface and achieve a smooth finish.
The Drying Process
Be sure to follow the time specified in the manufacturer’s instructions for the joint filler to dry completely. While cement-based fillers typically dry within 24 hours, this time may be shorter for epoxy-based materials. During the drying process, be careful not to place any weight on the surface and avoid contact with water.
Final Cleaning and Maintenance
Once the grout has completely dried, you can use a dry cloth to remove the thin layer of dust remaining on the surface of the tiles. To increase the durability of the grout, you can apply grout sealants, especially in areas exposed to water.
Tips and Things to Keep in Mind
When choosing the color of the grout, be sure to select a shade that matches the color of the surface finishes. This will enhance the aesthetic appeal. If this is your first time grouting, you can practice applying the material by testing it on a small area first. Avoid applying grout in extremely humid or very hot weather, as these conditions can prevent the grout from drying properly.
The grouting process is an important step that ensures surface finishes are complete in terms of both aesthetics and durability. By following the steps in the guide above, you can achieve a smooth surface using the right materials and methods and enjoy long-lasting results.